How to Properly Prepare Your Soil Before Installing Fresh Georgia Turf
Investing in premium, farm-direct grass from The Sod Source is one of the most exciting ways to elevate the beauty and value of your property. However, achieving that breathtaking, magazine-quality landscape requires more than just unrolling the green carpet. At The Sod Source, we know that the true secret to a thriving, resilient, and deeply rooted outdoor space lies hidden completely out of sight. Proper soil preparation is the foundational step that determines the long-term success of your entire landscaping project.
Without a healthy, well-prepared base—even with high-quality, farm-direct sod from The Sod Source—your lawn may struggle to survive, leaving you with lackluster results. That’s why we guide every customer to take the time to properly condition the earth beneath their feet. With The Sod Source, you can rest assured that your new investment will flourish for decades to come.
Why Ground Preparation is the Secret to a Lush Landscape
When you purchase fresh, locally grown grass, you are bringing home a living, breathing plant with an active root system. For these delicate roots to successfully transplant and thrive in their new environment, they need immediate access to oxygen, water, and vital nutrients. Compacted, rocky, or nutrient-deficient ground acts as an impenetrable barrier, stunting root growth and causing the grass to slowly suffocate. By meticulously preparing the site beforehand, you create a welcoming, aerated environment that encourages the roots to drive downward deep into the earth. This deep rooting is what ultimately protects your yard against severe drought, devastating diseases, and aggressive weed invasions.
Essential Steps for Clearing and Tilling
The physical preparation of your site is a labor-intensive but incredibly rewarding process. It is absolutely essential to start with a completely clean slate to prevent future complications and ensure a perfectly level surface. Skipping this phase will almost certainly result in an uneven, bumpy yard plagued by recurring weed issues.
- Removing Existing Vegetation: Completely eradicate all old grass, weeds, large rocks, and debris from the area to prevent anything from competing with your new root systems.
- Tilling the Ground: Use a mechanized rototiller to break up the top four to six inches of compacted earth, instantly improving aeration and allowing for proper water drainage.
- Grading and Leveling: Carefully smooth out the tilled dirt to eliminate low spots where water might pool, creating a gentle slope away from any buildings or structural foundations.
Amending the Earth for Maximum Health
Once the ground is physically broken up and leveled, you must focus on its chemical and nutritional composition. Even the most perfectly tilled dirt will fail to support a lush green landscape if it severely lacks essential organic matter or has an unbalanced pH level.
- Conducting a Soil Test: Always test your site to determine its exact pH and nutrient deficiencies so you know exactly what amendments are necessary for your specific property.
- Adding Organic Matter: Spread a thick layer of high-quality compost over the area and till it directly into the ground to drastically improve moisture retention and soil structure.
- Applying Starter Fertilizer: Broadcast a premium starter fertilizer rich in phosphorus to give the fresh roots an immediate, powerful burst of the exact nutrients they need to establish rapidly.
Setting the Stage for a Perfect Installation
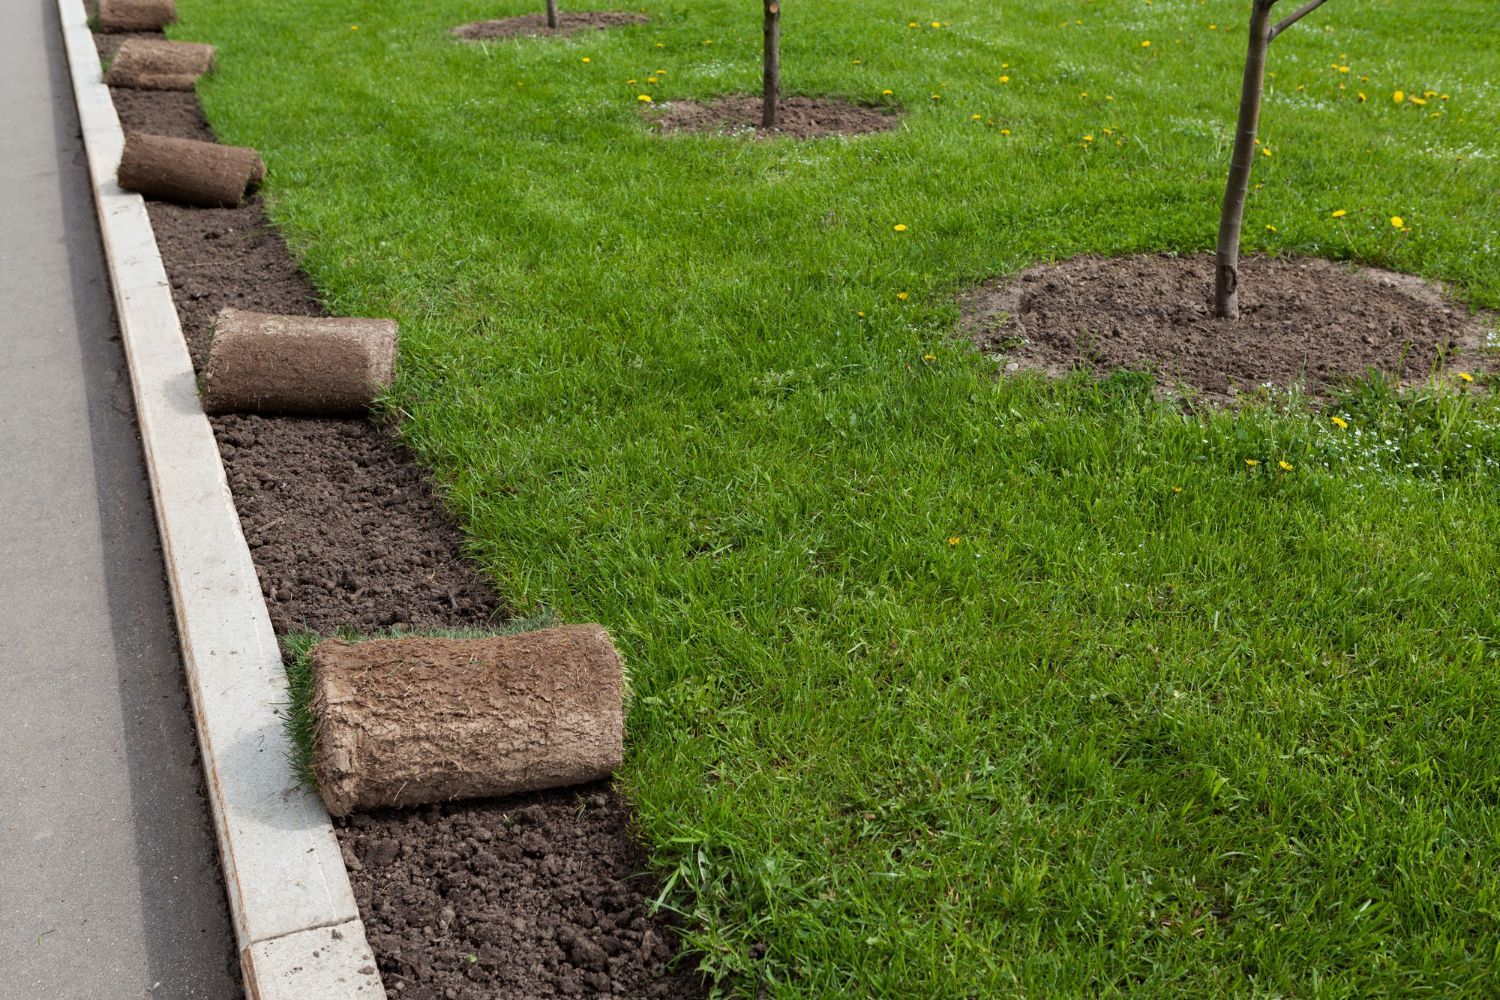
After you have meticulously cleared, tilled, and amended the site, the final step is to lightly water the bare ground. You want the earth to be moist and settled, but absolutely not muddy, before the installation team arrives. This slight moisture creates an ideal, humid micro-environment that instantly comforts the new roots the moment they make contact with the earth. Rushing the preparation process is the most common mistake property owners make, but your patience and hard work here will absolutely guarantee a breathtaking final result.
Frequently Asked Questions
How deep should I till the ground before laying new grass?
You should aim to rototill the earth to a depth of roughly four to six inches. This depth breaks up hard compaction and provides plenty of loose, aerated room for the new root systems to expand downward.
Can I lay new turf directly over my old, dead lawn?
Absolutely not. Laying fresh pieces over existing vegetation completely prevents the necessary root-to-soil contact required for survival, ultimately causing the new grass to quickly wither and die.
How long after preparing the ground should I wait to install the grass?
You should schedule your delivery so that the installation happens immediately after the ground preparation is finished. Waiting too long allows the dirt to re-compact and gives invasive weed seeds a chance to germinate.
Creating a stunning, durable landscape starts long before the delivery truck ever arrives at your property. By dedicating the proper time and energy to preparing your site, you are securing a flawless, vibrant future for your outdoor space. If you need expert guidance on soil amendments or are ready to schedule a farm-direct delivery, contact The Sod Source today.